About Music Garlic Seed
Hardneck – Porcelain
Music originally came from Al Music, who moved to Ontario, Canada, in 1956 from Bosnia. He had garlic seed that a Polish neighbor had given him, and noticing it grew exceptionally well in Ontario’s soil, he was soon selling his garlic far and wide. He would eventually become a co-founder of the Garlic Growers Association of Ontario.
Known as ‘Ontario garlic’ in Canada, this varietal has become very popular with our northern friends for its excellent cold tolerance and general disease resistance. There are entire festivals in Canada held around this varietal and 90% of garlic grown in Ontario is Music!
With such big cloves, no other garlic is easier to use in the kitchen; plus, Music has been shown to have higher than average levels of allicin, a sulfurous compound found in freshly crushed garlic that has antibacterial and antioxidant properties. Numerous modern studies confirm that garlic has definite antibiotic properties and is effective against a broad spectrum of bacteria, fungi, and viruses.
Music is famous for many reasons, all of which will have you falling in love with this irresistible plant. We prefer Music in everyday cooking because it’s fast and easy, and we love garlic. So when a recipe calls for 2 or 3 regular cloves, we double it with just one clove of Music.
Music Garlic FAQ
Is Music Garlic Hardneck or Softneck?
There are two types of garlic: Hardneck and Softneck. Hardneck garlic, like Organic Music Garlic, is very popular with our customers because it has a more complex flavor than other softneck garlic.
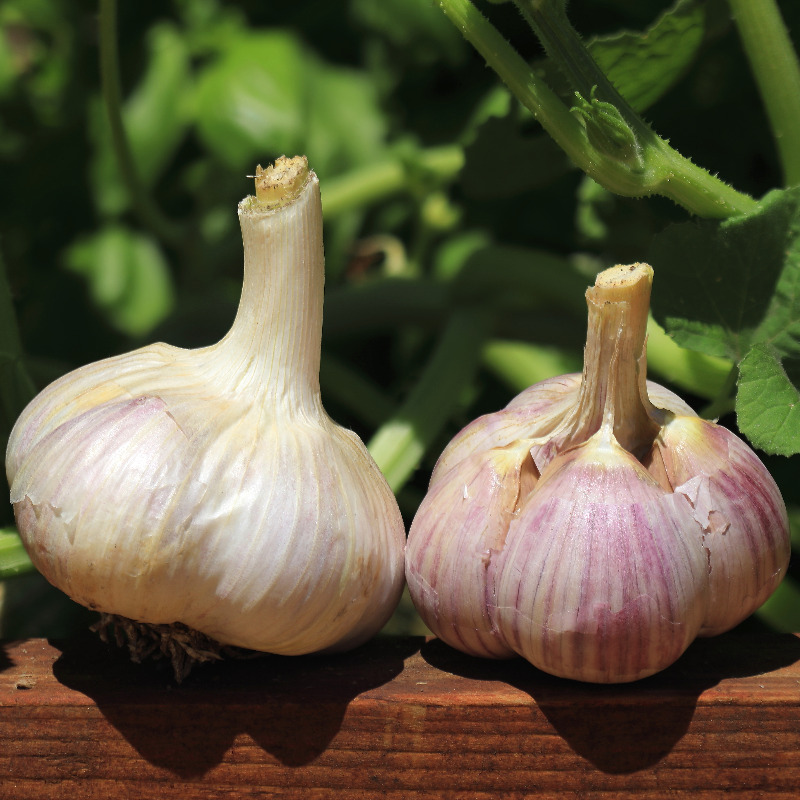
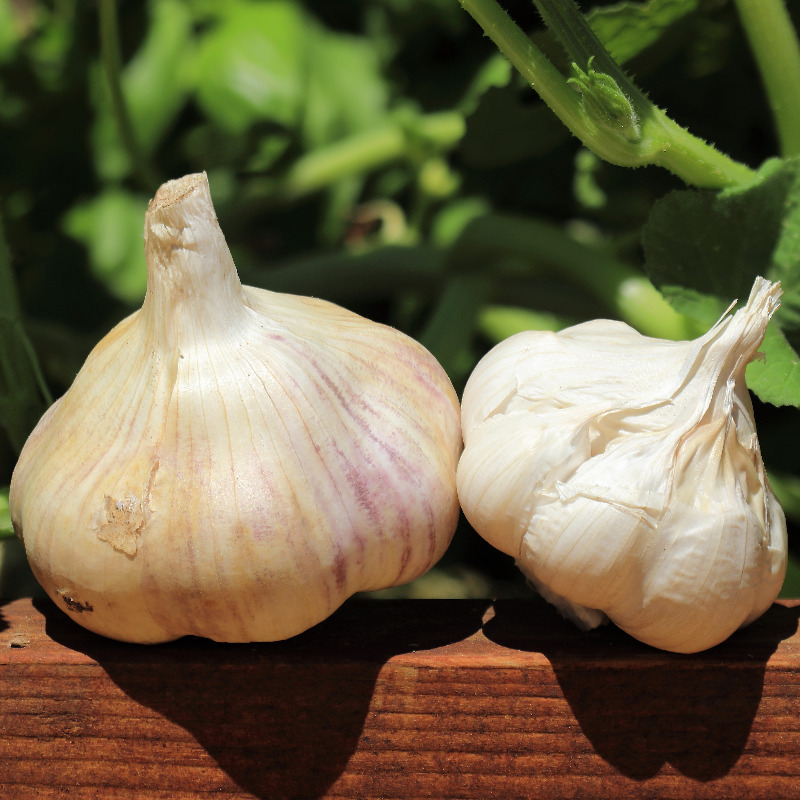
Music Hardneck garlic is also known as Porcelain garlic and is beautiful. Here are some of the best-known Porcelain Varieties: Armenian, Calabria, Georgian Crystal, Georgian Fire, German Extra Hardy, Italian Red, Kyjev, Leningrad, Majestic, Music, Polish, Reisig, Romanian Red, and Zemo. Organic Music Garlic is an excellent choice for those who want big cloves, big bulbs, full flavor, and the best appearance in their garlic, thanks for choosing our Organic Music Garlic!
How many cloves of garlic are in Music?
Because Music typically grows over three feet high, it does have huge flower stalks which curl and bend into unique displays when dried and added to flower arrangements. Our Organic Music Garlic is grown using only organic methods and is perfect for anyone who wants to add some flavor to their cooking without sacrificing quality or health.
How To Plant Organic Music Seed Garlic
Plant only the largest, undamaged cloves, some cloves might get a nick or two in them from the head cracking process. Save the smaller and damaged cloves for a delicious batch of Toum, its like garlic mayonnaise, yum!
When planting cloves in the soil, place the pointy end up, 3-4 inches deep and 6 inches apart.
How To Harvest Music Garlic Seeds
Spot checks can be done to ensure the doneness of your garlic: lightly and carefully dig around a random bulb, or bulbs, and check its size without digging it up.
Using a hay fork, you can go and loosen the soil 8 to 12 inches away from bulbs, carefully as to not damage the bulbs, and loosen the soil to make it easier to get the garlic up.
Do not remove the excess dirt with water, dirt can be removed later when it’s dried with a soft brush. Be careful to not remove the layers of paper on the outside of the garlic
How To Cure Organic Music Garlic Seeds
Hang bulbs in a well-ventilated, dry area out of direct sunlight and at room temperature, ensuring the temperature does not drop below 45 degrees. The best temperature range is 50 to 55 degrees in the storage area.
If you want to braid the garlic, please watch some Youtube videos on “Garlic braiding,” which takes considerable practice. Garlic curing time varies depending on the weather in your area. You will know when the garlic is adequately cured when the roots and leaves are dehydrated and easily breakable. Most garlic will take 3 to 6 weeks to cure. When done right, it can store for 12 months. You can also freeze garlic but must use it quickly after taking a bulb or two out of the freezer. We tried freezing it but noticed a significant drop in flavor.
When Is the Best Time To Plant Music Garlic Seed?
- Oct – Dec: Planting
- Jan – Apr: Weed, Water & Fertilize
- May – July: Harvest Scapes and Bulbs
- July – August: Cure
Planting Your Garlic Cloves
Music Garlic is a hardneck and can be planted any time between October through December. It requires more effort if the ground freezes. So plant while you can do so easily. Music enjoys cold winters where it can fully vernalize for 40 or more days. We found that Music will grow in all zones but does best when it has cold winters. We have also noticed that the tips of the shoots can receive some freeze damage and turn yellow or brown. Do not worry this occurs naturally and in the spring will correct itself when it warms up.
First, you must crack or pop the Garlic. This is the process of separating the seeds or cloves from the bulb. Then, take off the outer papers from the bulb. You will then see the seeds or cloves. Please use care when doing this. It is okay if the paper around the seed loosens or falls off when cracking. Seeds can be planted with or without the papers.
Music typically has between 4 to 7 seeds per bulb.
Since Music Garlic has large seeds, to begin with, you can plant all the seeds.
Now is the time to consider if you want to pre-soak the Garlic. There are many soaking recipes. The primary purpose is to give the seeds an advantage in early root growth. Most soaks also include fertilizer. The soaking process can take from 8 hours to 3 days, depending on your choice. There are also timing considerations with soaking recipes, extra work, and cleanup. Garlic roots start growing within 5 to seven days, with or without soaking. You can accomplish fast root growth without soaking by applying liquid organic fertilizer. Add the fertilizer when you do your first watering. The Garlic will also grow without soaking and is much easier to plant when dry.
Now that you made your choice about soaking or not. Plant all cloves in the ground at 4 inches deep and space 6 inches apart. It is now time to add about 2 to 3 inches of mulch made up of garden leaves, grass clippings, or homemade compost. You can also buy weed-free compost too. Lastly, add about two inches of straw. After planting is finished, water the seeds to remove air voids. If you decide to add fertilizer, now is the time. We recommend Neptune’s Harvest Seaweed and Fish emulsions. It’s easy to use and is 100% organic; a teaspoon per gallon of water mixed well is all that is needed. We make it easy to buy in our store and will ship it to you with your Garlic order. Now the Garlic has a nice cozy bed to overwinter in.
Weed, Water & Fertilize
January to mid-February is a relaxing time when growing Garlic in the USA. Not much is growing in these months except for the roots of your Garlic.
Did you Know? The garlic roots continue to grow all winter long and slowly reach deeper into the soil everyday sunlight appears. Even with several feet of snow on top of your garden. With longer days ahead, the sunlight penetrates into the ground, and the garlic knows. When mature, the garlic bulb can be 2 inches deeper than when planted. Most people do not notice as it happens gradually.
Weed Watching: begins as soon as they appear. Pull them when they are small to achieve the least amount of weeding. Then you can then safely apply more mulch or straw. All soils contain weed seeds, and winds and birds spread them everywhere. If you use a spade or hoe, be careful not to nick the plant stalk at the base. Wounds are an invitation for pests and fungi to start attacking and damaging the plant. So pull those tiny weeds by hand near the base of the garlic.
Basaltic Farms manages many acres and found it necessary to use a finger weeder attached to our tractor to remove 95% of the weeds. We can weed 8 to 10 acres in 2 hours. We follow up by hand, which takes the 4 of us one day.
Feeding: This is also a good time to start feeding. Garlic shoots can appear as early as 10 to 20 days after planting and will slowly grow in height. The Music plant regularly grows over 3 feet tall. When the soil warms up and your shoots reach five to six inches tall, or by mid-March, you can begin to start feeding every 3 weeks. We recommend Neptune’s Harvest SEAWEED and FISH emulsion as a foilaire feed. It’s OMRI-approved and 100% organic. Both products contain nitrogen, potassium, phosphorus, and sulfur; we use it every 3 weeks. You should stop applying it 30 days before the expected harvest. You can apply using a hand-carried watering can or sprayer for smaller gardens and scale up the sprayer as needed. Any leftover product can be applied to any plants with the confidence they will grow better and not harm the environment.
Watering: Garlic requires 1 inch of water per week for vigorous, strong growth. We found watering every 3 to 4 days works. We apply half an inch per watering cycle. Use a rain gauge to account for natural rain and subtract that amount when watering. Do not let the soil dry out completely, or it can overstress the plant. Also, do not overwater, especially if you have clay soils. Too much water can lead to problems in the root zone due to oxygen being forced out of the ground and stopping soil reparation. Root Rot can start to occur in heavily saturated soils.
Harvest
Music Garlic produces scapes that you can harvest when they appear in early May. Garlic Scapes are delicious to eat. Scapes are the flower stalks that appear about 6 to 8 weeks before the garlic bulb is ready to harvest. When they appear and reach 8 to 12 inches of growth or start to curl, cut them off, leaving 2 to 3 inches of stem on the central scape stalk. Use them in salads, home-fried potatoes, and any place it calls for onions or garlic. Scapes are sweet and garlicky in flavor. Unfortunately, they only grow for about 4 to 6 weeks. You can freeze them for a couple of months. If you let them grow fully, they become hard and chewy. So selecting them at the right time is critical for enjoyment in food dishes. It has been said you can leave the scapes on or cut them. Some say cutting them off increases the bulb size. Basaltic Farms found there is very little noticeable difference. But we do cut some off and use them in food dishes.
We also found that when the scapes are left on, they will uncurl and point straight up to the sky. This is also a sign that the bulbs are ready to harvest. Another sign is half of the leaves from the bottom up will be dying back. The ones closest to the ground will be fully brown and shriveled up, the others will be yellow, and the top half will still be green.
Another Question we are asking is whether there is a difference between a seed and a clove. No, they are the same thing. Garlic seeds can be confusing as they are not true seeds but actually called Bulbil and are produced by the scape flower. Bulbil is actually clones of the parent plant or very tiny garlic bulbs that, when planted, take two years to divide.
When you actually harvest the mature bulb, you need to use care. If your soil is loose, it will be easy to remove the bulbs. Whatever your soil type is, always start about 10 inches away from the main stalk of the bulb and carefully dig into the soil using a garden fork or shovel dig straight down at least 8 inches and work the soil loose towards the bulb. The last thing you want to do is to be too close to the bulb and cut it in half or severely nick it. If you do damage the bulb, you will want to eat soon.
Once the soil is loose, you should be able to grab the leaves and remove them altogether. At this time, gently remove any soil attached to the roots. A quick shake or two is all that is usually needed. While harvesting, you should not let the garlic remain in direct sunlight for more than 20 to 30 minutes. It’s July and pretty hot, and the sun will cook the garlic quickly if it is 100 degrees. We have found out the hard way that overexposure limits the storage life, and the bulbs can become mushy and start to rot when curing.
Curing Garlic Bulbs
After carefully pulling the garlic out of the ground, find a cool dark area with decent airflow and allow the garlic 3 to 5 weeks to cure. We cure our Garlic on large wire racks. We leave all the leaves and roots on with huge fans so that it has plenty of airflow. The garlic will start to lose moisture, and the natural paper will begin to tighten around the bulbs. After it’s fully cured, we put the bulb into a cold room and keep the temperature between 45 to 50 degrees with a relative humidity between 45 to 55 percent.
After curing for at least 3 weeks, you can start to remove the large leaves and cut off the roots. You can continue to leave the garlic on the rack if you use one and let it be for another month. This exposure helps prepare garlic for long-term storage.
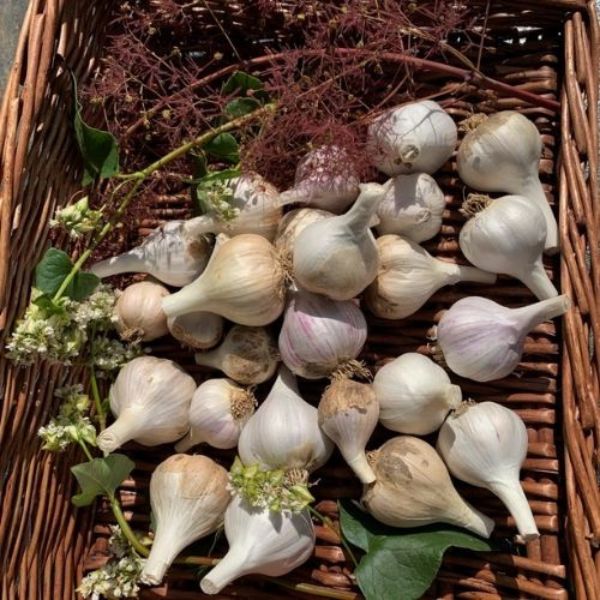
Many folks also bundle up the garlic with leaves intact into groups of 10 to 12 bulbs and hang them in the garage from the ceiling rafters where there is minimal sun exposure.
If the bulbs have dirt on them, you can leave them as is. But if you want it to look pretty as you see in supermarkets. Remove the least amount of paper on the bulb for best storage. You can put the trimmed garlic into boxes or use large double paper bags and store it in the chosen cure area. Dry, cool, and dark with airflow. Sort out any damaged or small bulbs, and save these for use in your kitchen. Select the best to replant for the following season.
Since Music is a hardneck, it can be difficult to braid, especially if it is dried out. If you want to braid, do it in the first two weeks after harvesting.
Caleb Schallert (verified owner) –
I just got an LB in the mail. The bulbs were very large and healthy-looking. I am extremely impressed with the quality of this garlic variety.